Things we need:
-1 Computer with Proteus installed
-1 Printer
-Onion Paper
-1 Negative Photosensitized Plate
-Etching (Nitric Acid): HNO3
-Hydrogen Peroxide: H2O2
-Water: H2O
-Latex Gloves
-Gas Mask
-1 Guillotine
-1 Contact Printer
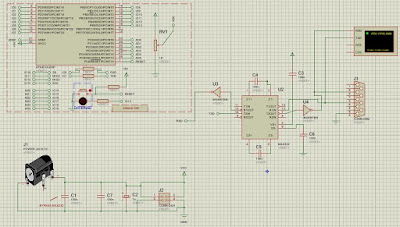
In this practice, the first thing that we have to do is to switch on our computer and open the program Proteus. Once there, we will design the electronic circuit that we want to make in our board. Following the instructions of the datasheet of the max232, we will do it like this:
Once we have simulated it, we will proceed to design the board. To do that, first, we will remove the elements that won't be in the board. This will be the result:
Then, we will go to ARES, and the Layout, the part of proteus where we design the tracks of the board. There, we will put the elements on the board and we will draw the tracks and the holes to go from one side to the other in the board. We have to be careful here, because tracks can't touch other tracks. In this picture, the red is the front panel and the blue is the back panel:
Moreover, we can see the board in 3D:
Once we have done this, we have to print the Layout in a printer, in onion paper. We have to print the front panel and the back panel in different places of the paper. Then, we cut both tracks from the paper and we paste one of them with insulating tape to the Negative Photosensitized Plate, we drill a hole exactly where the holes of the border are, we go to a dark place, we take off the protector of the plate and we paste correctly on it's place the two sides of the paper.
Then, we put it inside the contact printer and we wait for a while: 5 minutes and 50 seconds (350 seconds in total).
We can see a part of the process in this video:
Finally, we wash it with water in order to remove the acid that may stay in the board, we sand it to remove the rest of the protection of the board and we put a protection varnish in spray.
Last but not least, we cut the borders of the board with a guillotine to have this beautiful result!
You can download all the files used from here:


Cool
ResponderEliminar